Monday, October 6, 2008

Cooking with Ben and Ellen, en France!

So, you go to stay with your parents in a lovely little gîte in the Dordogne region of France for a week. It's very relaxing, très beautiful. The region is known for it's foie gras (delicious!), goat cheese (delicious X 2!), and various duck products (Mmm....). It is, however, a little lacking in the nightlife department. What to do, what to do...


We shall do zee cooking en famille!
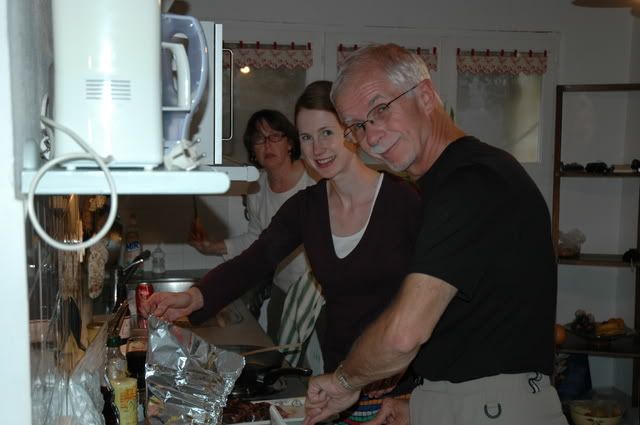

My love of cooking was passed down to me by two very foodie parents, so it seems only natural that visits with them are celebrations of food, and this visit I referred to more than once as foodapalooza. There were a lot of good meals, wine, cheeses, and desserts. And it was all great, but I thought since we were in France with fellow food lovers, we should take advantage and go all out.

We decided on duck because we're all about using what the area has to offer so after much searching and ooooohing at epicurious, we picked fig balsamic-glazed duck with pearl onion and pear hash with a romaine and mushroom salad on the side and chocolate honey mousse for dessert.

So we headed off the to local canarderie (is that a real french word? Maybe, maybe not) and the supermarché and came back and got to work.
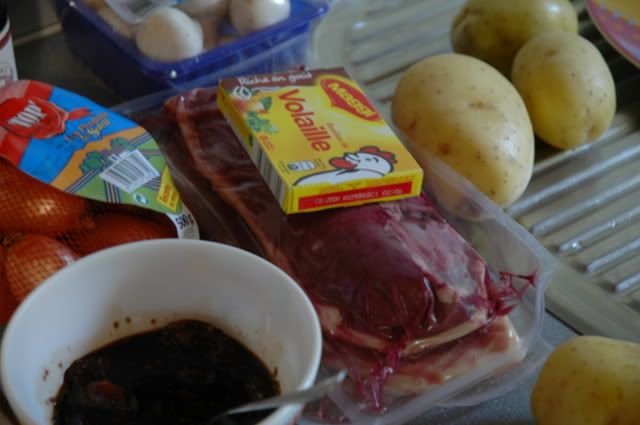

Don't these magrets look merveilleux?

And the pearl onion and pear hash became shallot and pears because, honestly, shallots are always better. Trust me, we voted, and the overwhelming love of shallots in our family won.
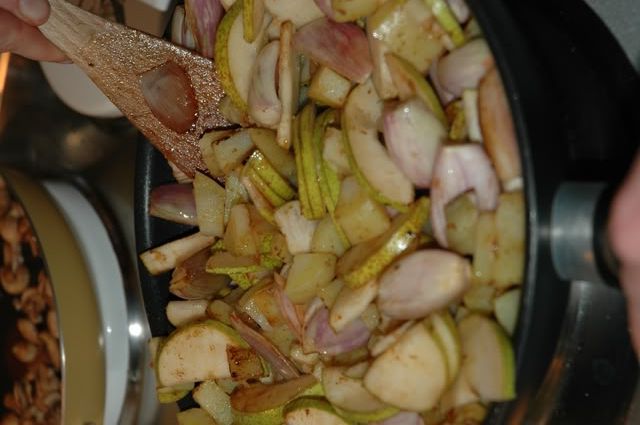

The finished product:
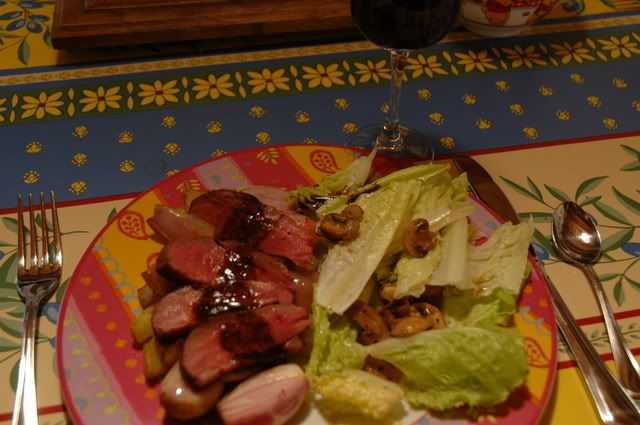

As good as a real french bistro, less expensive and more fun!

Zee recipe, pour vous mes amis:

Fig balsamic-glazed duck with pearl onion and pear hash

Bon Appétit - January 2005

Servings: Makes 4 servings.

Ingredients
4 duck breasts
2 tablespoons olive oil
2 ripe pears, halved, cored, cut into 1/4-inch slices
1 10-ounce bag pearl onions, blanched, peeled, halved
4 medium Yukon Gold potatoes (about 1 1/2 pounds), boiled until just tender, peeled, cut into 1 1/4-inch pieces
2 tablespoons chopped fresh sage

3/4 cup low-salt chicken broth
1/2 cup fig balsamic vinegar

Preparation
Using small sharp knife, score duck skin in 1-inch-wide grid pattern. Season duck generously with salt and pepper. Heat oil in large skillet over medium-high heat. Add duck; cook about 6 minutes per side for medium. Transfer to cutting board; tent with foil. Discard all but 1/4 cup drippings from skillet. Heat drippings in skillet over high heat. Add pears, onions, and potatoes; sauté until beginning to brown, 5 minutes. Stir in sage; season with salt and pepper. Transfer hash to bowl; cover to keep warm.

Heat same skillet over high heat. Add broth and vinegar; bring to boil, scraping up browned bits. Boil until reduced to glaze, about 5 minutes. Season glaze with salt and pepper.

Divide hash among plates. Cut duck into 1/2-inch-thick slices; fan over hash. Drizzle glaze over and serve.

*We used shallots instead of onions, and I made my own fig balsamic vinegar by soaking some figs in vinegar for a while and then pushing it all through a strainer. Don't skip the fig balsamic vinegar! It was soo good that we were practically licking the plates. Okay, I may have actually dipped my finger in it and licked it once or twice, but that can be our secret, oui?


And let's not forget the dessert!

When we make this at home, it's the super-easiest mousse ever and so so delicious. Here, without a mixer, it's not quite as easy
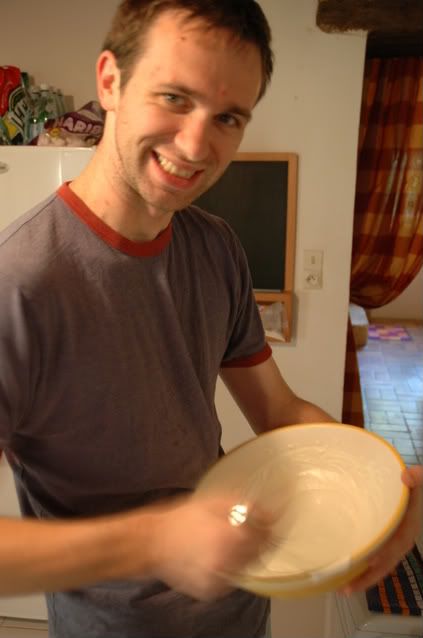
But we all worked our arms on the whipped cream and found that it is still delicious, especially with a dollop of crème fraîche and a drizzle of honey. Mmmm!

Bon appétit¡

Monday, September 29, 2008

Supporting the troops times two

It's been a very busy baking week for me and a fattening week for soldiers everywhere. Sunday afternoon in the Sweet Dumpling kitchen there was a full scale battle being waged.

In corner number one, we have Bake Sale.

My mission: bake up as many treats as I can to send to work with Ben for a bake sale for his unit.

In corner number two, Operation Baking Gals.

This week is Round 3 for bakers all over to send treats off to deployed service members to brighten their day and say thank you (because what better way to make someone feel good than with boxes upon boxes of baked goods?).

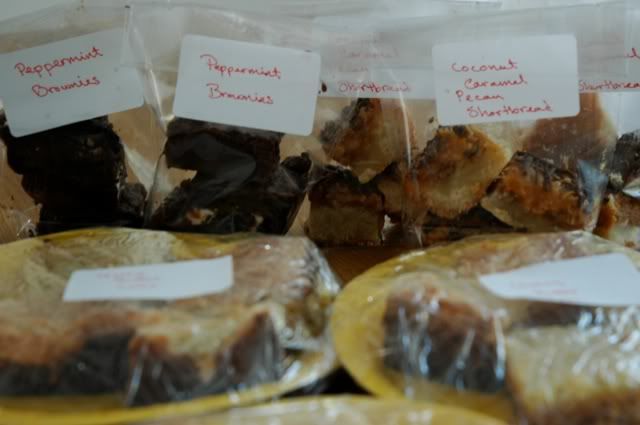
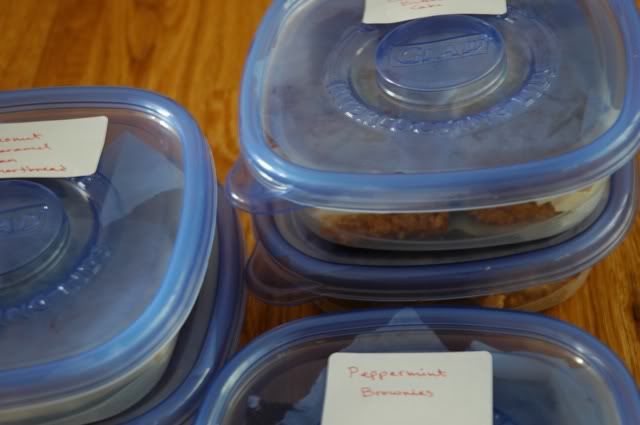
I couldn't say no to either cause. So, it was time to get down and dirty (and chocolately, buttery, and sticky) in the kitchen. After much flipping through cookbooks and browsing my favorite food blogs, muttering to myself, smacking my lips and saying "Ooooh, that looks so good" more than a few times, I narrowed it down to three recipes that I would bake and then split between the two causes.

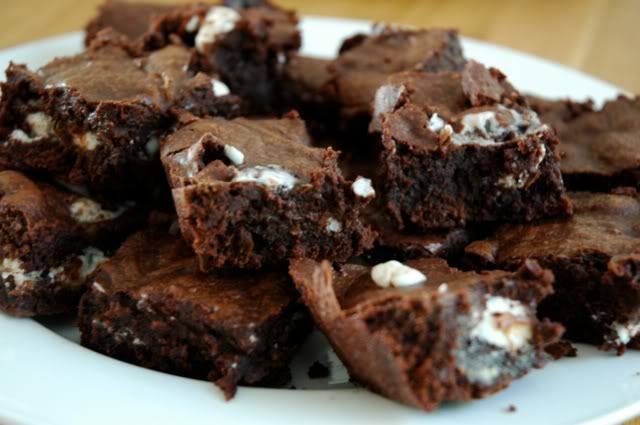
First, we had Brrrrr-ownies from Dorie Greenspan's Baking: From My Home to Yours

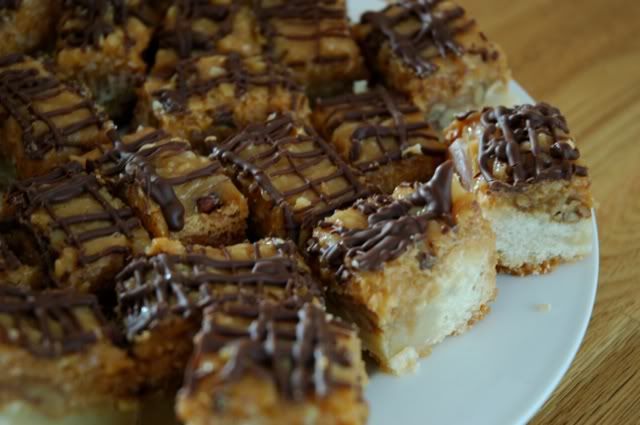
and Coconut Caramel Pecan Shortbread that made me want to lick the screen over at Vanilla Sugar


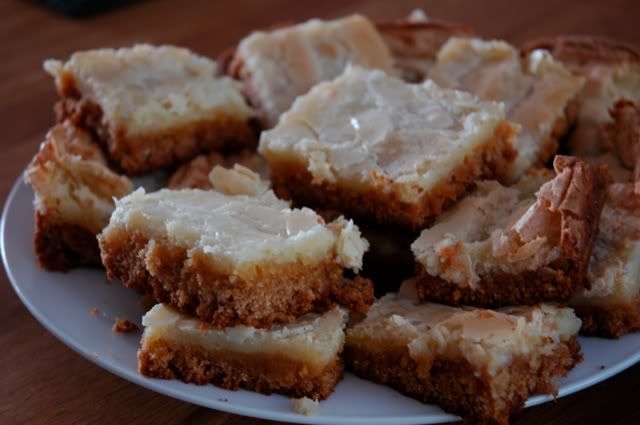
But they weren't the stars of the show. Oh no. That honor goes to my very special Gooey Butter Cake. Oh yes, you heard me right. Gooey. Butter. Cake.


This is the one recipe I have that guarantees to make everyone in its path stop and melt into a puddle of "ohmygahhhitssogoodwhatisitsogoodsogoodahhhh". It will also probably be the cause of many cases of heart disease among my friends and family, so if you're watching what you eat, just plug your ears, close your eyes, and ignore how insanely bad for you these little slices of deliciousness are. And have another piece. At least you'll die fat and happy.

So here's the recipe. I tend to think of it as my secret weapon, but I've shared it so much already, and it's so easy to google, that I might as well put it out there. Hopefully my biggest fans won't read this and discover how insanely easy it is to make.

Gooey Butter Cake
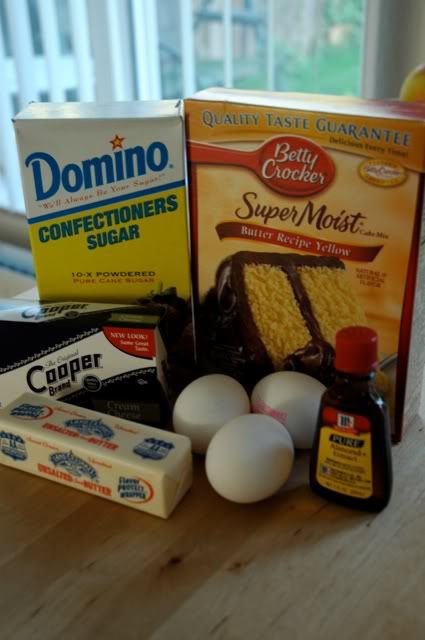
1/2 cup butter
1 box yellow cake mix
3 eggs
1 - 8 oz. package of cream cheese
1/2 t almond extract
4 cups of confectioners' sugar

Preheat oven to 350. Lightly grease one 9x13 cake pan.

Melt butter. Empty cake mix into a large bowl. Stir melted butter, along with one egg, into the cake mix. Press mixture into pan.

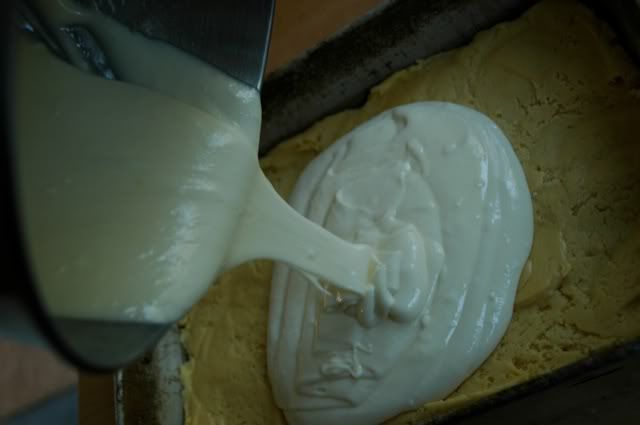
In a large bowl, mix cream cheese, almond extract, confectioners sugar and the remaining two eggs. Beat for three minutes with an electric mixer set on medium high speed. Spread over top of the cake mixture in the pan.

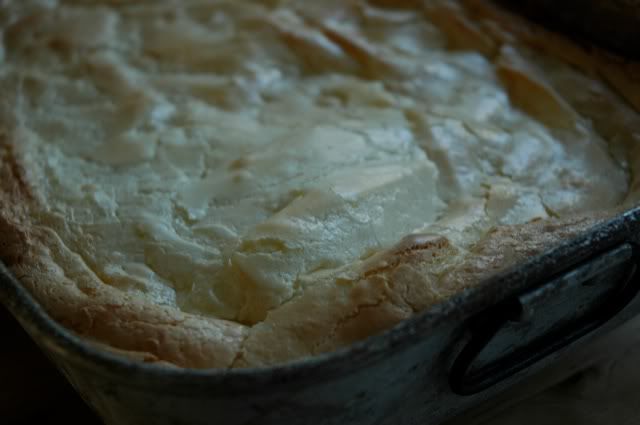
Bake for 35-45 minutes until golden brown on top. Allow cake to cool. Eat. Eat some more. Mmmm. So good.


I know already that all three treats were quickly devoured at the bake sale, and I hope the troops on the receiving end of Operation Baking Gals enjoy them as much as the troops here did!

Tuesday, September 16, 2008

Last tastes of summer

I'm getting greedy.

As summer slips away and the weather gets colder (not "gets cold", since it didn't really get warm here this summer), I know that my days are limited. I don't have much more time for wonderful tomatoes, zucchini, sweet corn, strawberries, and blueberries at the market. Even my fresh basil will be harder to find soon. So I spend my time sighing and weeping and going to the market each week to buy as much summer produce as I can before it's all potatoes and apples and hearty cold weather food.

And then I come home and greedily eat blueberries by the handful and plot which dishes to use my prized, delicious sweet corn in. This one usually wins:

Sweet Corn and Salmon Risotto


I'm sucker for risotto.It's delicious. It's not all that hard, despite it's reputation. And it's open to so many variations. Sometimes I'll make it once a week, putting in whatever is in our kitchen. I've had a lot of good flavor combinations over time, but this one is one of my favorites that I just keep coming back to.

Sweet Corn and Salmon Risotto
* 6 cups chicken stock (I always want to use vegetable, but I never have it. You'd think I'd learn, but no)
* 1 tablespoon olive oil
* 1/2 cups finely chopped onion
* 4 cloves garlic, minced
* 1 cup Arborio rice
* 1 cup white wine
* 8 ounce salmon filet, cut into small cubes
* Kernels from 1 ear of sweet corn (or more if you love corn the way I love corn)
* 1/4 cup chopped fresh basil
* 1/2 cup grated Parmesan cheese
* Salt and freshly ground black pepper

Directions

1. Heat stock in pan over high heat. Keep at simmer over medium heat.
2. Heat oil in heavy-bottomed saucepan over medium heat. Add onions and garlic; cook, stirring, until translucent. Add rice; cook, stirring, until rice begins to sound like glass beads, 3 to 4 minutes.
3. Add wine to rice. Cook, stirring, until wine is absorbed. Using a ladle, add 3/4 cup of hot stock to rice. Using a wooden spoon, stir rice constantly, at medium speed. When rice has absorbed most but not all of the liquid and mixture is just thick enough to leave a clear wake behind the spoon when stirring, add another 3/4 cup stock.
4. Continue adding stock in this manner, stirring constantly, until rice is mostly translucent but still opaque and slightly crunchy in center. Add salmon and corn; continue stirring and adding stock until rice is still al dente but not crunchy and shrimp is cooked through, about 3 minutes. As rice nears doneness, watch carefully, and add smaller amounts of liquid. The mixture should be thick enough that grains of rice are suspended in liquid about the consistency of heavy cream. It will thicken slightly when removed from heat.
5. Remove from heat. Stir in basil and parmesan cheese; season with salt and pepper. Spoon into bowls, and grate or shave Parmesan over risotto, if desired. Serve immediately.

Thursday, August 28, 2008

Someone's in the kitchen with Mama

Q: What kind of person decides to bake scones upon arriving home from the hospital after having a c-section several days earlier?

(Ellen looks around the room and slowly raises her hand)

A: Me.

I know, I'm crazy. But I was so BORED in the hospital, I wanted to take something over to our neighbors to thank them for taking care of the dogs, and I thought baking might take the edge of the searing pain in my abdomen. And the scones were delicious.

This isn't actually about the scones though (Whole Grain Maple Oatmeal, if you were wondering, and I found the recipe here).

It's about the treats I baked 2 days later, Chocolate Malted Whopper Drops from Dorie Greenspan's Baking: From My Home to Yours and Blondies adapted from Smitten Kitchen.

Now, if you're wondering what the heck I'm doing spending so much time in the kitchen when I should be recuperating on the couch with my sweet little baby and a pint of Haagen Dazs, well there are a few answers (see above excuses for scone making), but the most important one is Operation Baking Gals.

A few weeks ago, while perusing Dorie Greenspan's website, I learned of a fantastic group of food bloggers who were joining together to bake for the troops. Basically, once a month all these wonderful people were going to bake treats and send them to a designated service member. Okay, so cookies? I love cookies! Supporting the troops? I love the troops! How could I not be a part of this? So I signed up and this week was my first round as part of Operation Baking Gals, and I figured what better time to introduce Wesley to the joys of baking? It's never too early, you know!


I had been wanting to make the Whopper Drops since forever, but I'd had to wait because it's darn near impossible to find certain ingredients around here, like malted milk powder. The Dutch just don't have it, and the commissary, well, I think I've voiced my displeasure with the selection of food at our commissary before. So I had to wait until Ben's recent trip to Chicago when he brought back all sort of goodies and hard to find items like tahini, turkey jerky, and malted milk powder. Mmm... but I digresss.

I had been dying to make these because:

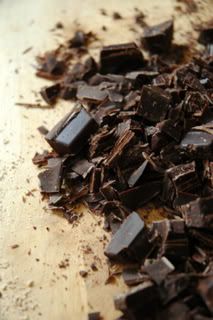
Exhibit A


and

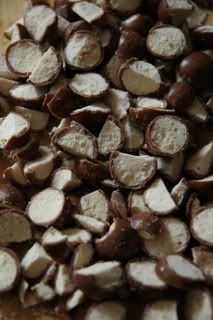
Exhibit B


How do you go wrong there?

And the finished product turned out very nicely.

I found myself wishing that the cookie itself was just a little more chocolately, but too much chocolate is never enough for me. I think for a person of normal tastes these would be lovely.

Wes agrees.

No, no, no feeding the baby cookies. I'm only teaching him to bake, not to eat. More treats for me that way.

Up next was the blondies, which I added a little espresso powder to and stirred in chopped white and milk chocolate as well as Kraft caramel bits (which I was VERY excited to find at the commissary this week. They stocked something I've been wanting! Hallelujah! I bought 6 bags because I know they'll probably be gone soon and then I'll never see them again).

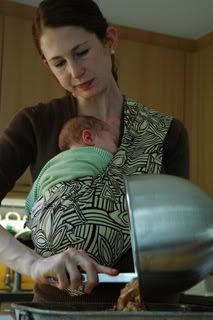
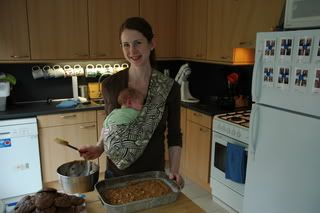
Wesley was a super helper.


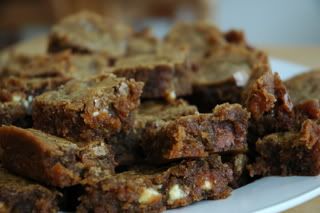
And the finished product was awfully good.


Ben was my taste tester and insisted that supporting the troops includes feeding him, too, so that batch may have been short a few blondies by the time I shipped it. Hopefully the soldier I sent it to enjoys them as much as mine did.

So, you may think I'm crazy with this baking thing, but as least I'm crazy for a good cause, right?

Tuesday, August 12, 2008

J'adore...


Ben, of course, but also macarons!

My love of Paris is inextricably linked with my love of pastries. Every trip involves at least one patisserie purchase, even if we're only there for a day, and walking by many many patisseries in order to lick the windows. And on our last few trips, I have been struck with a love of macarons.

They've become something of an obsession, and I have wanted desperately to make my own. I saw plenty of examples and recipes on the bajillion food blogs I read regularly, but my problem was that the ingredients are always in grams. This makes sense because A) They're French, and B) They are fussy and delicate and I would expect no less of these magnifique little treats. Soooo, I had to get a food scale. I eventually did, and after marveling at how I could now tell you how much my food weighs at any given meal (those chocolate chip cookies in my previous post were about 35 g, in case you needed to know), I finally made my macarons!

I searched the blogosphere for just the right recipe, and I kept coming back to Tartelette and her Macarons 101. She explains it so well and so thoroughly, not to mention the fact that her pictures are mouth-wateringly pretty.

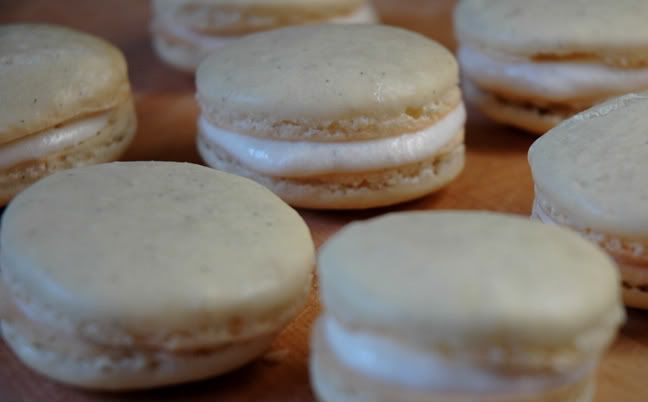
I followed her recipe almost exactly. The only change I made was to substitute vanilla sugar for the plain granulated sugar. And then I filled half with the bittersweet chocolate ganache, and half with a vanilla bean buttercream that I found the recipe for somewhere. But I won't share that recipe because, for whatever reason, it just didn't work for me and I had to wing it and experiment with powdered sugar to get it to a decent consistency. And in the end, my macarons... were delicious! They looked like macarons (although they were a tiny bit flatter than I wanted them, but that's just something to improve for next time) and, more importantly tasted like macarons. Ben proclaimed them as good as Pierre Hermé. I don't know about that, but I'm glad he loves me and my baked goods.

Macarons (recipe from Tartelette)
For the Macarons:

3 egg whites (I like to use 2-3 day old egg whites)
50 gr. granulated sugar
200 gr. powdered sugar
110 gr. ground almonds


For the whites: the day before (24hrs), separate your eggs and store the whites at room temperature on a covered container. If you want to use 48hrs (or more) egg whites, you can store them in the fridge.

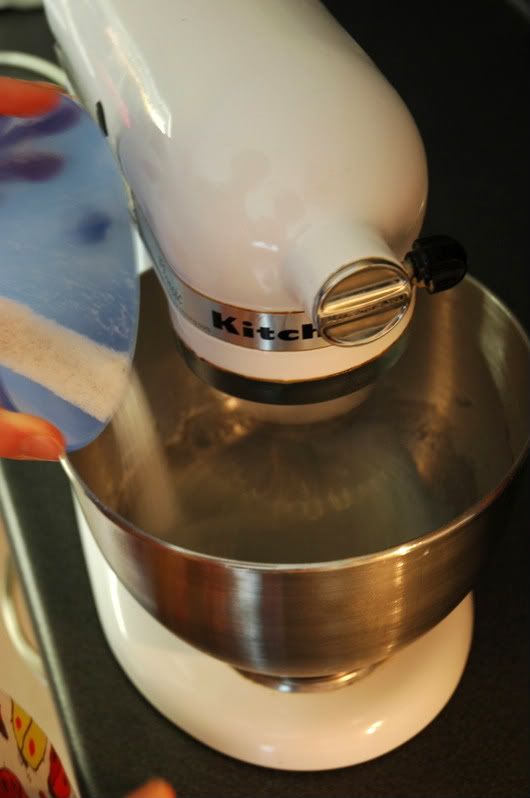
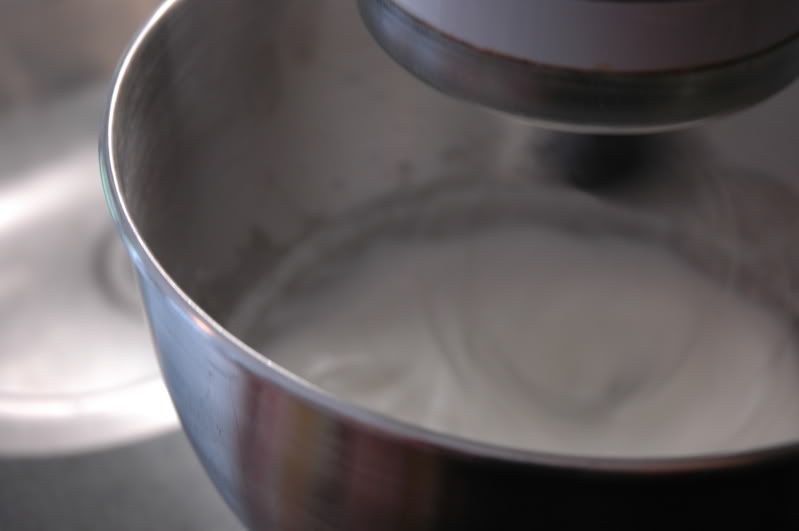
In a stand mixer fitted with the whisk attachment, whip the egg whites to a foam, gradually add the sugar until you obtain a glossy meringue. Do not overbeat your meringue or it will be too dry and your macarons won't work.


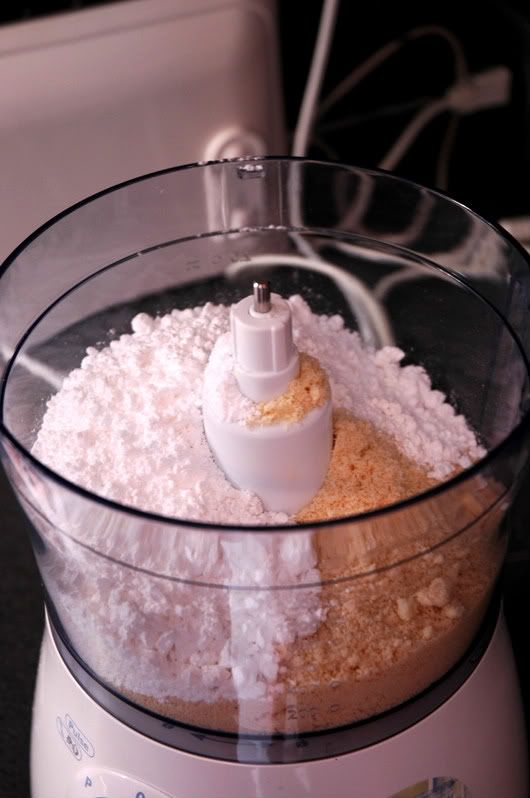
Combine the ground almonds and powdered sugar in a food processor and give them a quick pulse. It will break the powdered sugar lumps and combine your almonds with it evenly.


Add them to the meringue. Fold the mass carefully until you obtain a batter that flows like magma or a thick ribbon. Give quick strokes at first to break the mass and slow down. The whole process should not take more than 50 strokes. Test a small amount on a plate: if the tops flattens on its own you are good to go. If there is a small beak, give the batter a couple of turns.

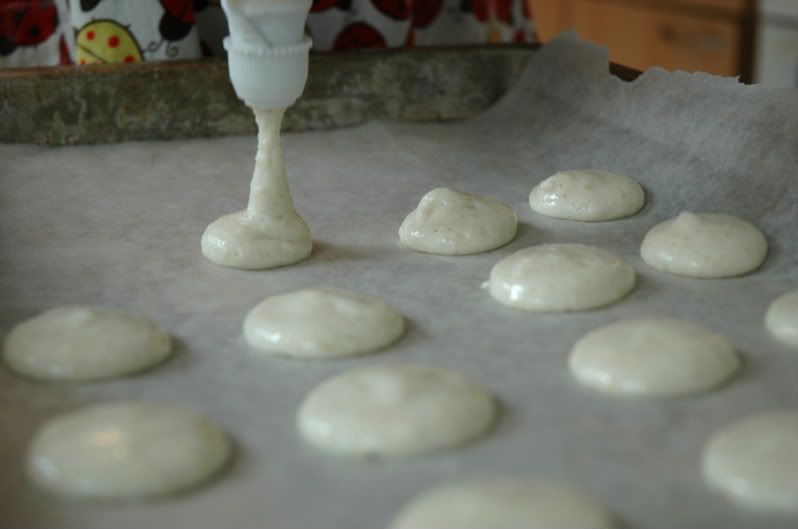
Fill a pastry bag fitted with a plain tip with the batter and pipe small rounds (1.5 inches in diameter) onto parchment paper baking sheets.


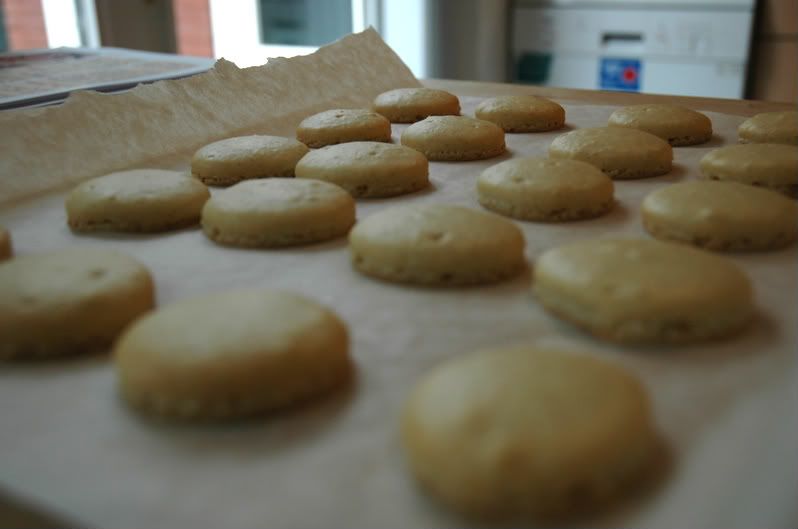
Preheat the oven to 300F. Let the macarons sit out for an hour to harden their shells a bit and bake for 8-10 minutes, depending on their size. Let cool.

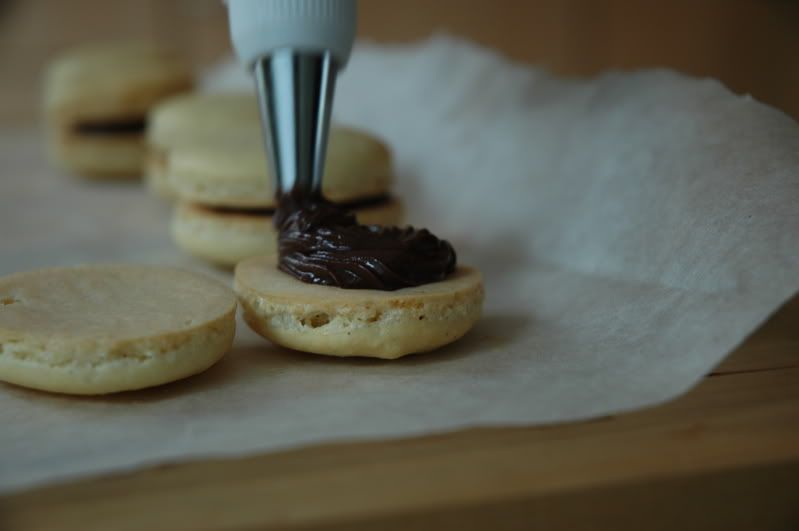
If you have trouble removing the shells, pour a couple of drops of water under the parchment paper while the sheet is still a bit warm and the macarons will lift up more easily do to the moisture. Don't let them sit there in it too long or they will become soggy. Pipe or spoon some ganache on one shell and sandwich with another one.


Bittersweet ganache:

3/4 cup heavy cream
1 cup bittersweet chocolate

In a heavy saucepan set over medium heat, bring the heavy cream to a boil. Remove from the stove and add the chocolate to it. Let stand 2 minutes and then stir until fully combined. Let cool until firm enough to put in a small piping bag.

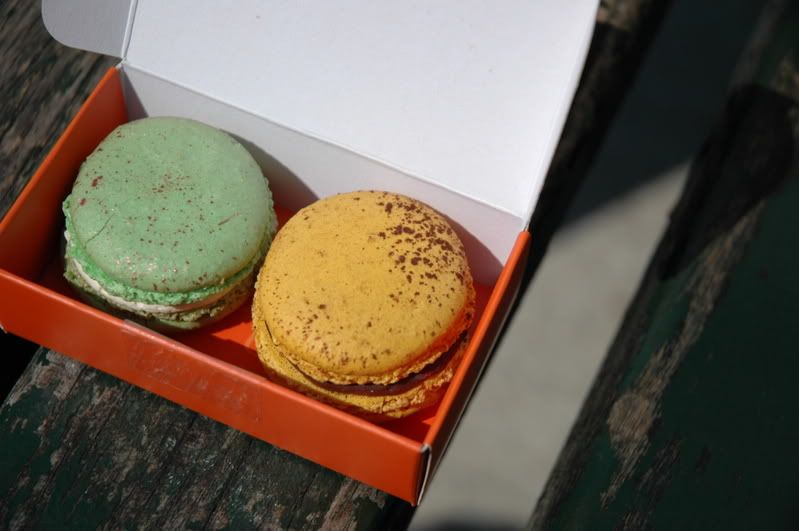
Les macarons!

Saturday, August 9, 2008

Tofu for the doubters


Some of you out there may have certain ideas about tofu and its tastiness (cough...Dad...cough). Ben used to be one of those people too. I would mention a potentially good recipe and he would raise his eyebrows or wrinkle his nose or just say no.

When he took his recent two week trip to Chicago, however, I went to the commissary and gleefully bought a package of tofu to cook for me, just me. I also bought some stir fry sauce from the local supermarket. The sauce I have is a product of the U.K., so if you're one of my loyal American readers, good luck finding it, but it's Sweet Soy and Roasted Red Chili, so you could try using a combination of, oh, maybe soy sauce and chili sauce.

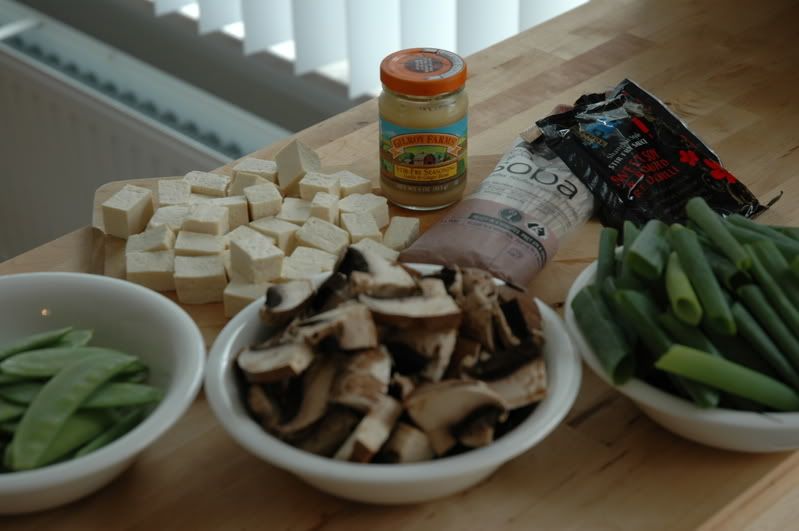
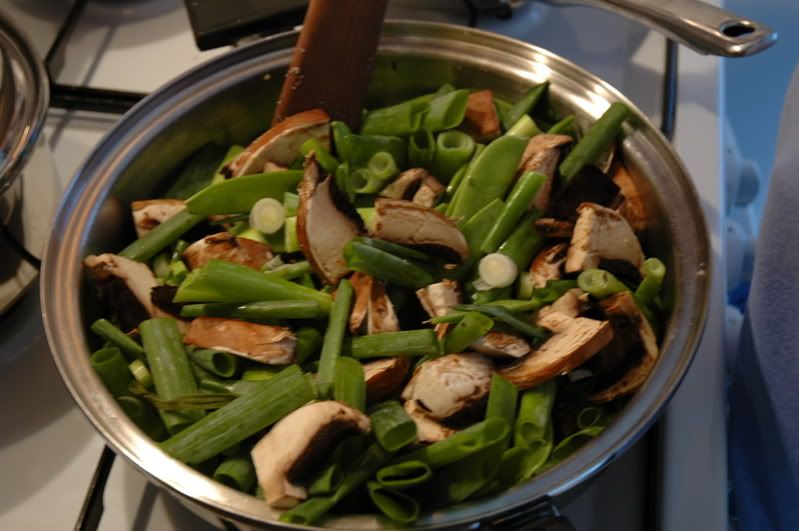
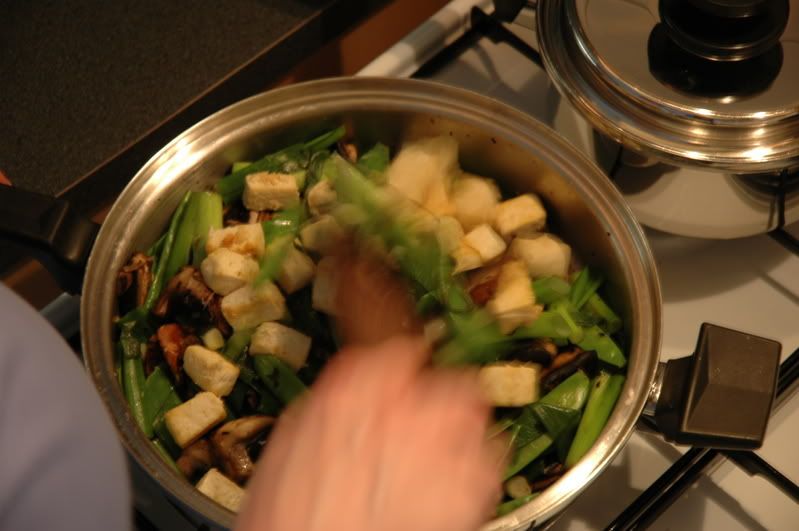
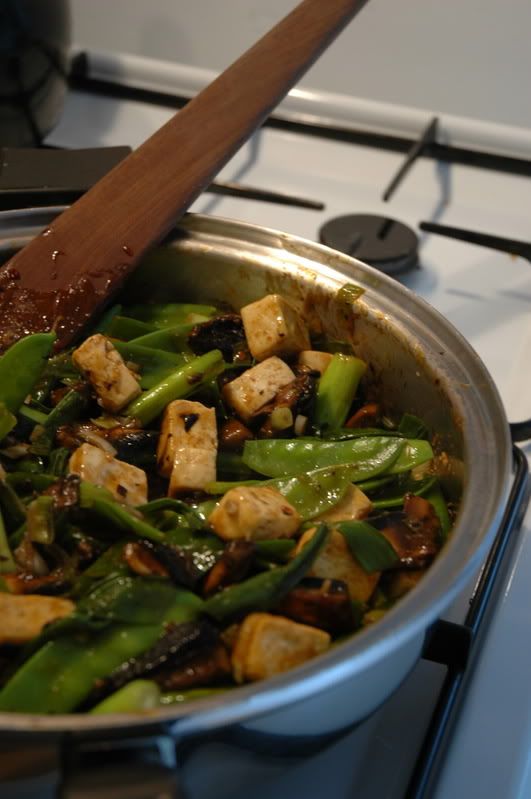
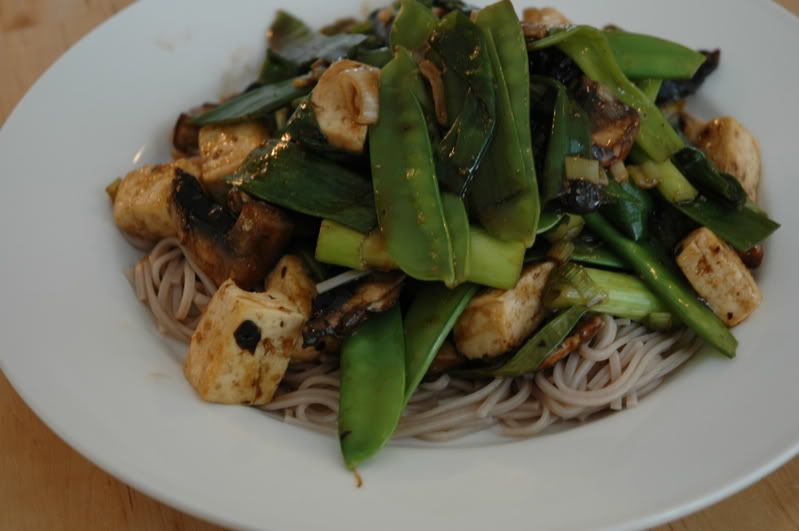
Then, I sat at home, alone. And I pondered what I wanted to do with my previously forbidden tofu and my tasty looking new sauce. I ended up deciding to stir fry the tofu with some snow peas, scallions, and portabella mushroom and serve it over some soba noodles that we had lying around. And it was SO. GOOD.

It was so good, in fact, that I thought I could make it for Ben and he would probably eat it without making barfy faces or gagging sounds. So when he returned, I told him my plans. He looked at me doubtfully but agreed to try it. And lo and behold, Mikey liked it! He liked it enough that he agreed to tofu for dinner again the next night! And he's eaten it multiple times since then! It's a miracle!

So for the doubters, my Yummy and Easy Tofu Stir Fry That Ben Not Only Chokes Down But Actually Likes.

Serves 2

Ingredients:
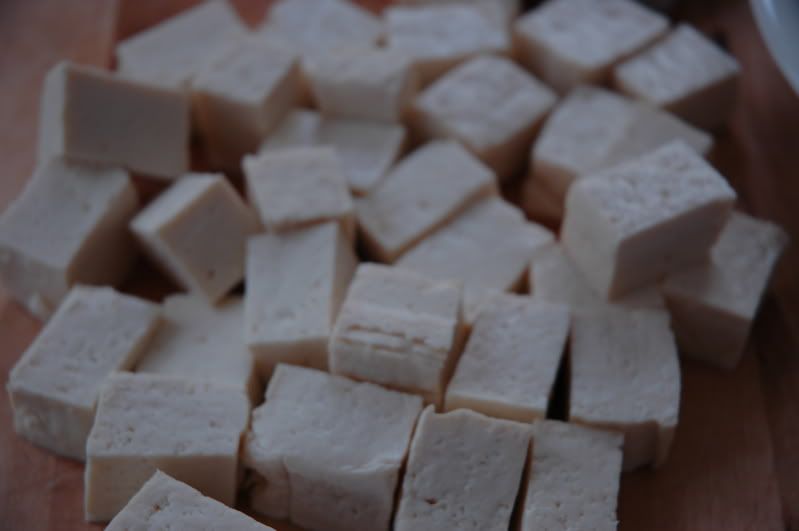
1/2 block firm tofu, cubed
2 tsp each minced garlic and ginger, or if you want it easy a few spoonfuls of jarred minced garlic and ginger stir fry seasoning
1 cup snow peas
2 cups portabella mushrooms, chopped
2 cups scallions, chopped
90 grams (about 3 ounces) soba noodles
Sweet Soy and Roasted Chili Stir Fry Sauce (or something close to that)


Heat a little oil in a pan, add ginger, garlic and tofu and cook until lightly browned. Set aside.
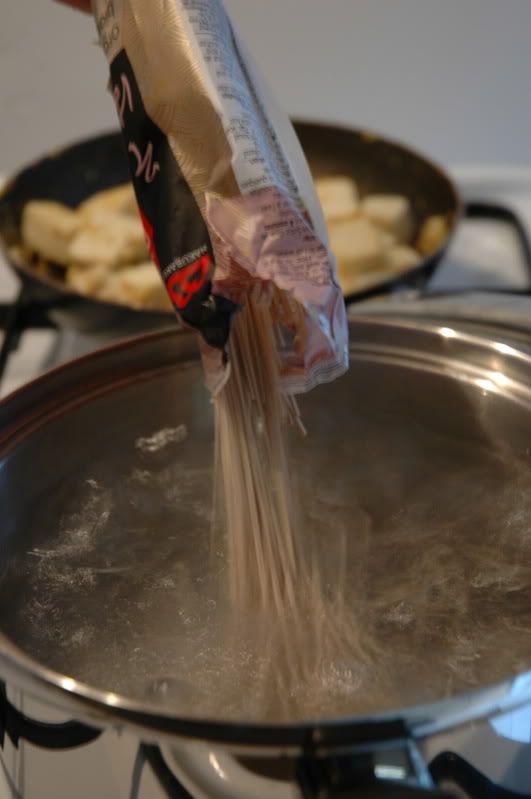
While the tofu is cooking, bring a large saucepan of water to a boil and add soba noodles. Boil for about 5 minutes, drain and rinse with cold water, and set aside.


Heat a little oil in a wok, or if you are wok-less like me, a large pan, and add the vegetables. Stir fry for a few minutes until they are nice and cooked. Add tofu and stir fry sauce and stir together for another minute until everything is heated through.


Serve over soba noodles.

Yum!

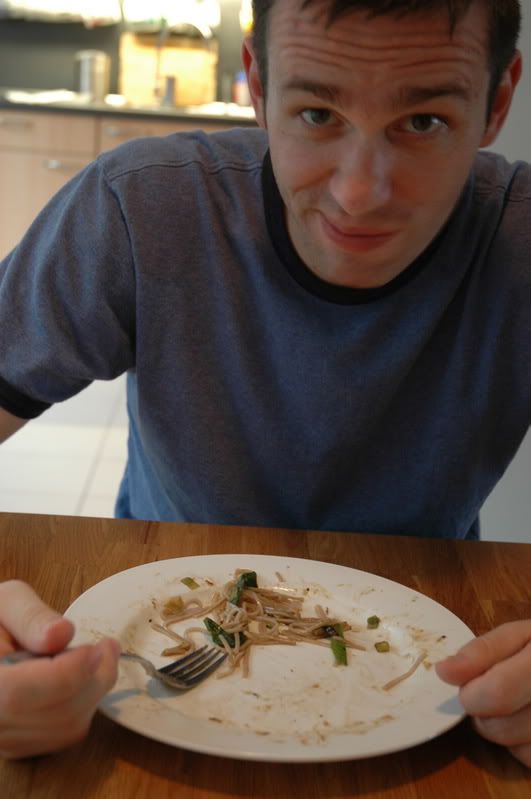
Proof that Ben eats tofu:


And likes it:

Delicious!

The baby liked it too...

Baby's gonna be so disappointed when he comes out and doesn't get fun foods anymore. At least not until he can chew. Then we'll go nuts.

Monday, August 4, 2008


I love cookies. A lot. And in my mind, nothing come close to the chocolate chip cookie. Yeah, sure, it's fun to have double chocolate raspberry caramel macadamia nut cookies dipped in white chocolate, but for pure cookie enjoyment I can't help but go back to the old standard.

So it might be a little surprising that I have just now gotten around to making the New York Times recipe from a whole MONTH ago! But the problem, you see, is that I already have my perfect chocolate chip cookie recipe. I found it a few years ago, made a few slight modifications, and haven't been able to beat it since. And then I recently found another that looked really good that I wanted to try. And then, I read the article that goes with the New York Times recipe and know that I have to experiment with chilling the dough for different amounts of time. Do you get where I'm going here? Not only do I have new recipes to test out, I also have to make test batches after different periods of time in the fridge and compare them to my own fail proof recipe. That's a lot of chocolate chip cookie making! Not to mention the fact that Ben was gone so I couldn't send cookies to work with him, I needed to make biscotti for a going away gift for one of his coworkers, and I had to bake Ben a fabulous cake for his birthday last week. That's a lot of baking! And a girl can only eat so many cookies. You might think it would be easier for me being 9 months pregnant because I should be able to sit down with my round self and polish off a batch of cookies, right? Wrong. There is no room in my stomach. And I've been pretty healthy throughout my pregnancy, so now when I eat too many cookies, the sugar overload makes me feel really yucky. So no cookie binges here.

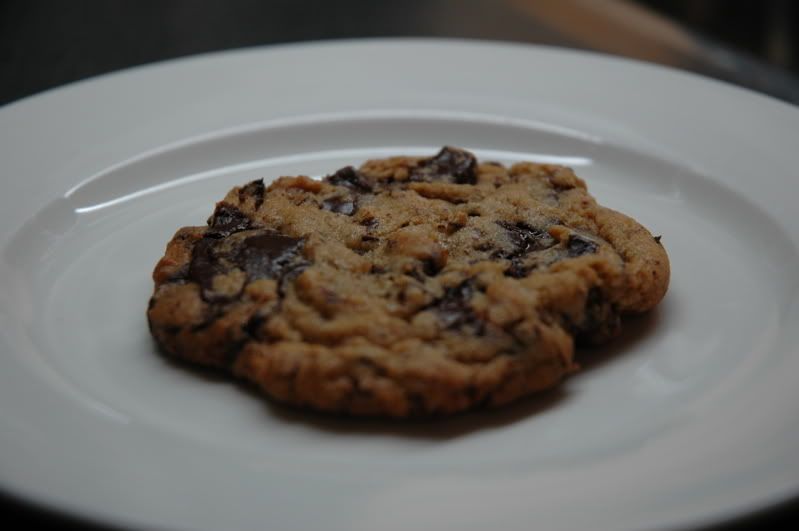
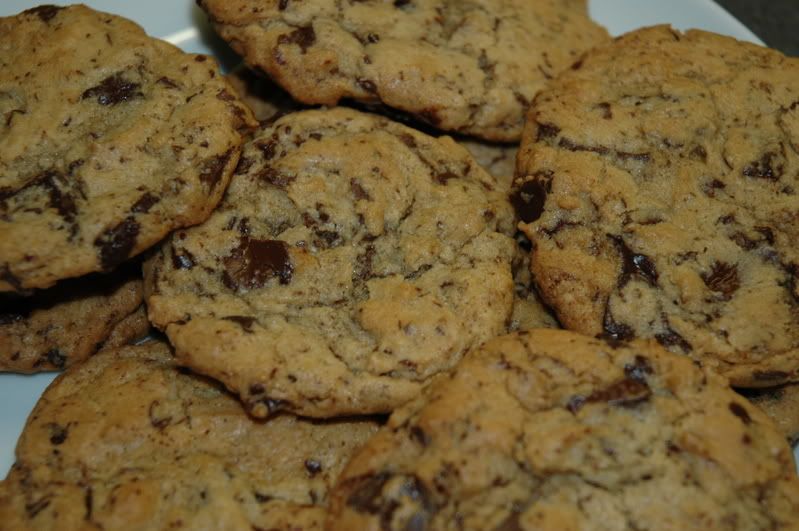
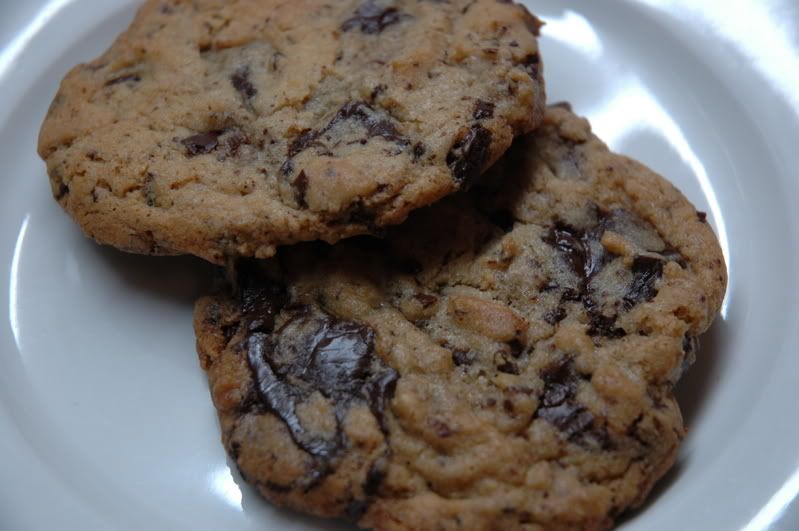
All this to get to the point that last night I FINALLY made the fabulous cookies that the baking world was buzzing about weeks ago. And they were, in fact, fabulous.


The jury (consisting of me and Ben) is still out on whether they replace my chocolate chip cookie recipe or not.

Pros: They are really delicious. They are absolutely gorgeous. They live up to all the promises of the article. I feel like I could be buying them for too much money from an expensive bakery.

Cons: They call for cake flour and bread flour and that seems a little pretentious to me. The recipe makes a massive batch of dough compared to my usual recipe, but the quantities don't seem easy to cut in half, so I'm stuck with a big batch of cookies. You have to let the dough sit for at least 24 hours. That means advance planning for what should be one of the kinds of cookies you whip up on a lazy afternoon.

I think there will be further deliberation this evening after we have both snacked on more cookies today. I have a feeling, though, that these cookies will stay, but only with special occasion status. Even though they are so so so good, there's just not enough room in my regular baking rotation for pretentious chocolate chip cookies. My recipe will stick around as our old faithful. And no, I'm not sharing my own recipe. I'm a cookie tease.